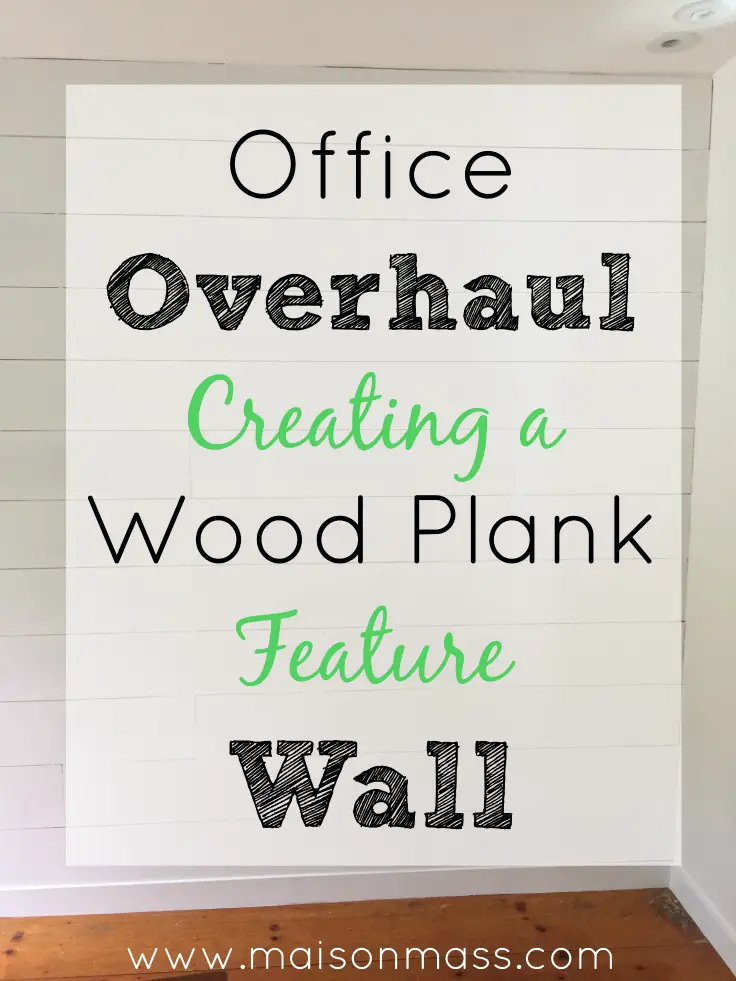
Most of the rooms in our home are lived in. Our office, however, has become an avoidance issue. With neither my husband nor myself regularly working from home, the kids now working in their bedrooms, and the desktop computer having been rendered all but obsolete, its only purpose has been that of storage. Until recently. My husband had to take a video conference call from home one day and no matter where he attempted to place his laptop in the room, there was a mountain (or more aptly a landslide) of stuff behind him, in the shot. It was dark, messy, and depressing. So, we’re undertaking an office overhaul – in pieces, to be delivered to you the same way.

Walling over the Doorway
Its not a big room by any stretch and, as you can see, its versatility is somewhat limited by the the closet doors on the left, the windows on the far wall, and the doorway to the hallway (from which I’m taking the photo). The doorway on the right leads to a bathroom – convenient perhaps for a bedroom, but useless as the office. So, we decided to wall it over. We removed the door first, followed by the door casing. Next, we laid a 2×4 stud along the floor and another centered vertically in the doorway. A few screws in the wallboard on either side of the stud and that annoying doorway was no more.

Plank Prep
The holes you see to the right of the doorway are from the wiring my husband fished out, after converting the 3 way light switch to a 2-way. Luckily, those holes are going to be covered over. The one design aesthetic we easily agreed upon was the planked wall. We decided the long wall, now unencumbered by door or window, would be the perfect statement wall. Not having to cut planks around windows or doorways was simply an added bonus.

Cutting Plank
Using a table saw, we cut sheets of 48 x 96″ plywood (1/4″ thick) into 8″ widths. Once we maneuvered our planks inside, we used a miter saw to cut some of the plank lengths to fit the space. We always tried the boards in the space first to confirm that the cuts weren’t wonky or the wood warped.

Laying Plank
When we were sure it would fit, we applied a light construction adhesive to the back before laying it in place, working across and down, from the top corner. Using a stud finder, we found our 2×4’s to which we then nailed the planks in place, with a nailer and compressor combo. We used nickels as spacers between planks. What I love about using planking (or plywood) is that it is intended to be imperfect. So, if you have a bit more space between planks in one area, its not a big deal, nor is it very noticeable.

Painting Plank
Though I really liked the natural wood look, there was no disguising all the nail heads. For a cleaner look we moved forward with the painting. I primed the whole wall, being careful to get my brush in between the planks where there were larger gaps. If we’d primed the wall before, I probably wouldn’t have concerned myself with the gaps. I then filled in all the nail holes with wood filler, and sanded the entire wall, as the plywood was rather rough to start. Finally, using a paintbrush, I painted the entire wall a white eggshell. The baseboard at the bottom and throughout the room is the same white eggshell.

Plank That!
Its a very clean but casual look, a far cry from the Safari Khaki the room was previously. The only cost for this project was that of the plywood sheets and the paint. My husband and I cut and adhered the plywood planks in one Saturday. The sanding and painting took another day. That’s a pretty great value in my book, measured in time and investment.
More office overhaul to come…
Lisa


