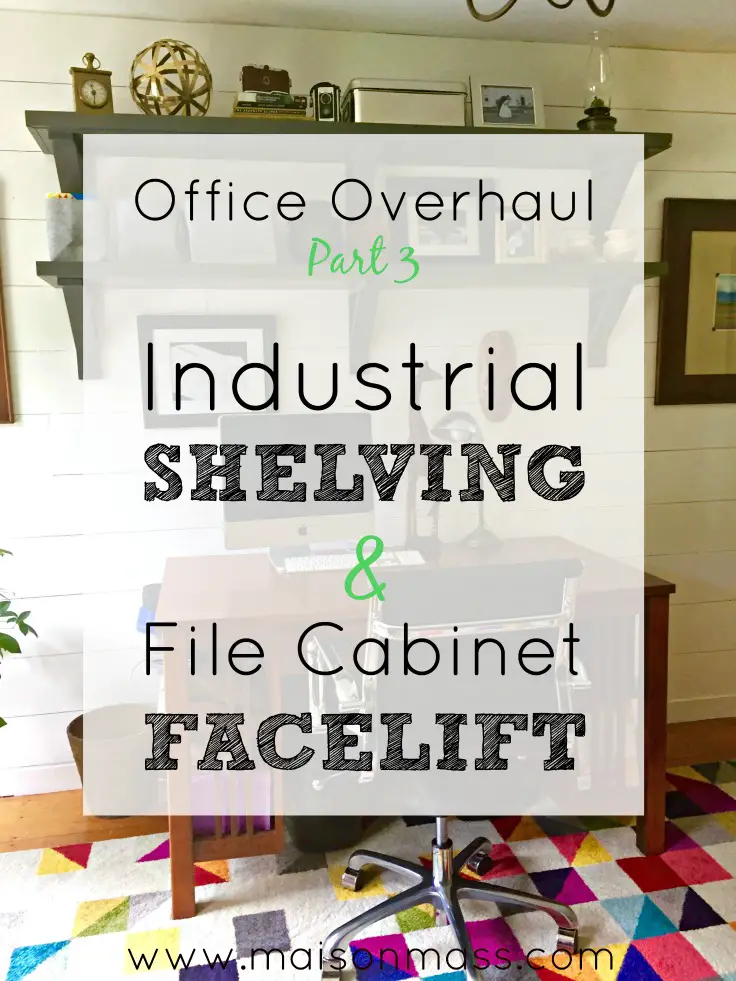
This is the third piece in the Office Overhaul Series. This is what the office looked like after we dumped the old rug and removed a ton of clutter, but before we started the overhaul.

We filled that doorway to nowhere and installed a wood-planked feature wall.

We then painted the windows and doors black. Adding this geometric, bright colored rug made the room less stark, more fun. Nice aesthetically, but where do we put the actual stuff? Storage forth.

I feel the need to say now, if you’ve not yet ascertained, that I have one of those rare husband breeds – the one that cares about design aesthetic and weighs in, frequently. Luckily, more often than not, we are on the same page, as was the case here. He also happens to have the necessary skills to back up many of his design ideas, not always a defining characteristic of the breed. I got lucky.
Wood Bracketed Shelving
We both wanted shelving on the new feature wall and since he would be constructing it, he decided on the details, specifically bracketed, industrial looking. He glued and nailed two slabs of poplar wood together to achieve the thickness he was after – 1.5 inches. He then trimmed the sides and front (those that would be visible) with poplar trim. Enter: envied skills. He then mitered the corners for the finished look.

We had only too-recently built and installed other shelves in our pantry using metal brackets. This time, he envisioned thicker, more substantial brackets which he chose to build from the same poplar. These are a basic bracket design with a 45 degree support. More cutting, gluing and nailing, and then I came along to do the grunt work. I sanded all the pieces lightly, primed them, puttied the nail holes, sanded the putty and then returned to re-prime the puttied areas. The process of priming once and then a second time after puttying holes was recommended to us by an esteemed contractor. You may contest as redundant; your prerogative.

After priming, we painted the shelves and brackets a matte grey. This should have been easier than it was. As you can see the shelves were left to dry outside, except the unrelenting humidity didn’t allow that to happen. They continued to stick to everything with which they came in contact. More sanding and touching up. I need a workshop with central air.

After sufficient curing time, the shelves were hung. Now, I need again to apologize for not photo documenting the next step. My husband will say that I’m aways on him to finish tasks. In this case, he finished the task before I could get in there with a camera. The one and only time that ever happened. In order to ensure the shelves would hold, he used blind shelf supports. There are small metal brackets screwed into the wall, into which steel rods are screwed. After holes are drilled into the back of the shelf (same depth as rod), the shelf is then inserted over those metal rods, into the drilled holes. See above link for more details.

Love the austerity of the heavier, dark shelves. But when I dump five years’ of tax returns on them, I expect they won’t look nearly as sharp. I still need a place to relocate fifteen years’ worth of bills, documents, report cards, and crap I’ve yet to sort. Roll out the file folders; we have a flea market find to face lift. Garage sale find, really but its not as alliterative.
File Cabinet Facelift

After ten minutes and a couple searches online as to how to free the locked drawers, I began sanding (with a light grit) all the surfaces I would spray. I decided not to bother with the inside and concern myself only with the exterior. I wiped it down with a cloth and armed myself with my Rustoleum spray paint. As for color, we both wanted something bold (after years of that room being a drab khaki). We’d breathed the new, colorful air and we liked it! We agreed upon Deep Turquoise in a Gloss (what I would call teal).

I love spray paint! Truly – it’s as easy as it looks. I sprayed the interior of the drawer pulls first (after taping off the chrome handle). Then after that was dry, I sprayed the drawer surface and then moved on to the cabinet itself. Ta-dah!

That’s it. Nothing left but to put the room back together. We’d thought we would replace the chandelier but after exhaustive searches online, we couldn’t find one we agreed upon – the harsh reality of marriage. I was in the brushed gold camp while he chrome. I kept picking fixtures that hung too low (he’d have to duck under) and he was picking ugly flush-mounts. I know they’re not all ghastly but the ones in our puny price range were and besides, I’d already given myself over to the gold sputnik fixture. We lived with the existing chandelier in the new space for a couple weeks and it worked fine. Sure, it’s nice to have new but sometimes we jump on board that train just for that reason and not necessarily because its better. We’ll appreciate this one a bit longer until they figure out how to flush mount my brushed gold sputnik.
Reassembled and Revealed

Don’t you love what we’ve done with the printer and fax machine? It’s a working office, people. So, until someone writes me with a fab fax makeover idea, this is what I’ve got to work with. I do like the teal file though; that makes me happy. The African map is an authentic classroom map of yore. My husband has been holding onto it for years in the hope we’d one day create an African-themed room. Some dreams come true.

African-themed? Maybe not through and through, but there are many mementos of my husband’s travels throughout the continent that we did end up incorporating into the room. That wasn’t actually the plan from the beginning, but as we began adding to the room, these pieces seemed to find their way here. Better that they have a home in which they can live comfortably side by side rather than lost in the fray of another room with a different style sense.

I debated about painting the transom window panes black as well. Obviously, I didn’t. I think I’m glad for that choice; that’s my story and I’m sticking to it.

The desk I’ve had forever and though its mission look may not have the mod look of the black and white windows and walls, or the bright color of the rug, it is a study in simple, linear design and quality craftsmanship. I won’t part with it. It’s the one wood finish in the room, which I think matches the hue of the brown leather chair. The desk chair is new (an Amazon Prime Day special)!

We’ve decided too to keep the windows unadorned, for now. The sun may quickly begin to bleach out the furniture, in which case we’ll eat our words and shade up. Until then though, I love the simple look. That leather chair was a Craig’s List find and the chrome lamp was left at our town swap shop. Truth be told, I may love the stories the pieces tell more than the pieces themselves. The pillow (looked kind of African print-like to me) I picked up on clearance at Target just the other day. Treat to myself for getting all of this stuff back in the room without breaking anything or anyone. That accord is scrubbed the first time I find someone violating my pristine, new room with their clutter.
Please do share your thoughts on the room and specifically suggestions for printer camouflage.
Lisa
Want to get Maison Mass delivered to your inbox? Subscribe to our weekly email to stay in the know and to get access to our Resource Library full of great freebies!


