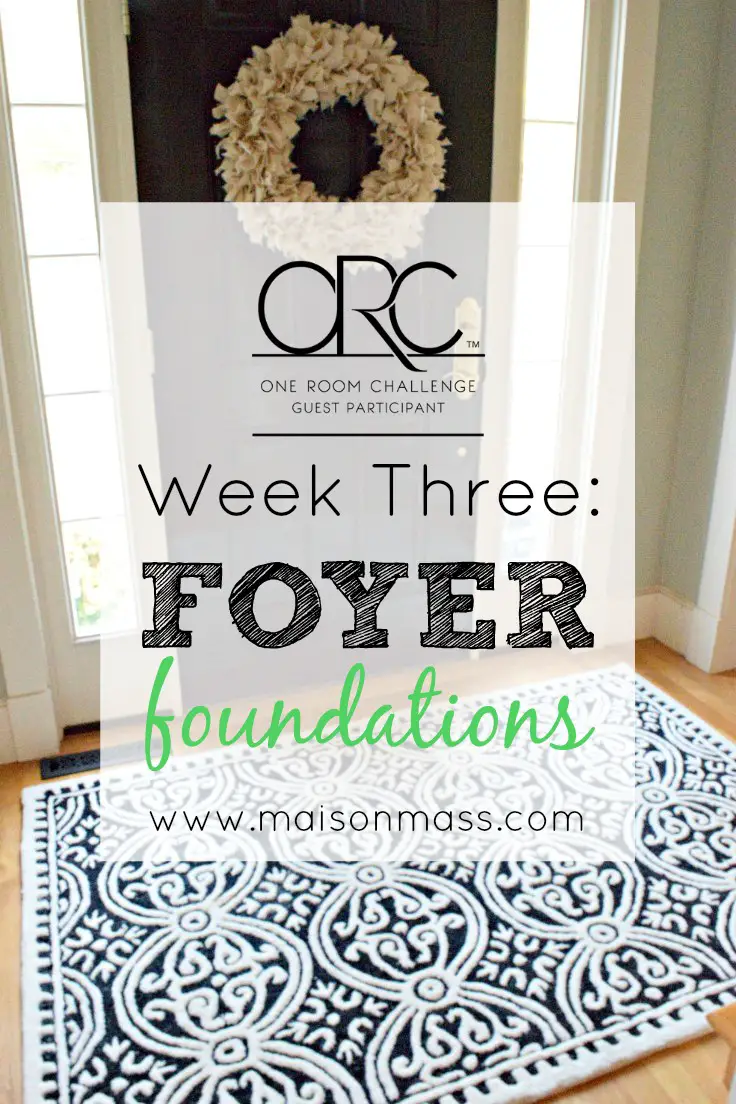
It’s week three of the One Room Challenge and the foyer is progressing. Full stop, no qualifiers. In truth, I had hoped I’d be a bit further along. But life has conspired to intervene and I suspect, despite my planning, it will be a sprint to the finish line to get everything accomplished. This week I called the post foyer foundations because the rug I purchased for the space arrived and I put it down. The rug sets the mood for the foyer and really is the foundation of the space.
This post contains affiliate links. When you purchase a product through one of the links, we get a small commission at no extra cost to you. For more information, see our disclosures page and thank you for supporting the blog!
Let’s reminisce for a moment about the old rug, shall we? When I first moved into my house, I was in what I will call my botanical phase. Every picture was a floral. Flowers found there way into curtains, bedding, and yes, rugs. Not that there’s anything wrong with that. Even now, the design offends less than the grime. This rug has done its time in my house and served the family well. After a few years with kids I started telling them to just wipe their feet on it already. So it’s taken its fair share of abuse over the years. And despite repeated cleanings with our carpet cleaner, is ready to be retired.
Without further ado, here is the new rug. I wanted to bring more black into the space (along with the door last week) and am in love with black and white quatrefoil cement tiles (now playing everywhere in a Pinterest-worthy bathroom, laundry room or foyer near you) – and this rug references that look.
Here it is in relation to the new black door and wreath. Changes the whole look of the space I think.
But throwing down a new rug is not all I got done this week, lest you think me a slacker. There was the little matter of an umbrella stand that needed a rethink to attend to. I lifted this beauty from my childhood home when my mom was downsizing. It is a heavy metal vessel, painted black with a fruit motif that went well in our 70’s gambrel replete in gold and olive tones. In truth, I had the umbrella stand in my foyer turned around so that the unsightly fruit were well hidden from view. But the heft, simple shape and functionality appealed to me. And maybe the nostalgia of it too.
But there was no way this bad boy was going to sit next to my fabulous new rug. No, it was dragging down the property values in the neighborhood, so I set out to fix it. I’d been hearing a lot about chalk paint, love the matte look, but had no experience with it myself so thought this relatively low risk project was a good place to try it out.
My vision for the umbrella stand was to keep it dark but freshen it with new black or charcoal paint and then add a decorative touch that did not include fruit.
To my delight, I found chalk paint in spray can form which is my preferred method of painting whenever I can get away with it. I opted for charcoal because it was very, very dark and sprayed away. It looked great after one coat, which is what you see above. But I gave it two for good measure. Initially I attempted to remove the unwanted decal before painting, but this proved impossible so I just sprayed right over it and no one is the wiser.
Then I found this stencil (intended for floors) and thought it would make a great accent on the stand. I bought another can of chalk paint in linen white and figured I’d just spray on the design. Sadly, it didn’t hit me until I actually started setting up for it that there would be no way I could spray paint my way out of this one without making a complete mess. So I sprayed some of the paint into a paper bowl and grabbed a paintbrush from my preschooler’s art easel to see what would happen.
Have I given away the fact that I’ve never stenciled before? I am not sure where my bravado came from to try and wing this project. Did the vague memory of being in the room circa 1977 whilst my mother stenciled some pineapples onto our kitchen wall qualify me to take this on? Perhaps. No matter. Sheer determination took over and I painted away one evening (apologies for the yellow-tinted night pics).
It took three coats to make the white as saturated as I wanted. And when I removed the stencil, there was still a lot of bleeding. The cylindrical form of the stand made this an inevitability. So, I got the charcoal paint back out and set out to do some serious touch up work.
(Speaking of touch ups. Clearly from these pictures, I have to touch up the trim paint in my foyer – embarrassing! Put it on the list.)
Anyway, here is the almost-finished product (I have a bit more white touch up to do but light was fading and I wanted to get a decent photo before dark.) It’s not perfect, but neither am I, and I quite like it.
One more umbrella stand pic: a side-by-side before and after so you really get a sense of the transformation. If you’d like to try something like this, here’s what you’ll need:
- Chalk paint in charcoal
- Chalk paint in linen white
- Paint brushes
- Stencil
- Painter’s Tape
I should mention that I did do a little more sourcing this week as well. I’ve narrowed the light fixture down to two options and I purchased a bench cushion for my DIY IKEA mudroom hack I did a few weeks back that is in the main hallway coming off of the foyer.
I’ll be devoting the next couple of weeks to prepping, sanding and painting the newel posts and handrails on my stairway. I still need to decide on a new handleset for the front door and lock down my plan for the console table and wall above. Wish me luck!
You can check out all of the weeks of the project here:
ORC Week 1
ORC Week 2
ORC Week 3
ORC Week 4
ORC Week 5
ORC Week 6
ORC Week 7
And as always, be sure to hop over to the Calling It Home blog to see what the featured designers and some of the other guest participants are doing this week on the One Room Challenge Page!
Kristen


