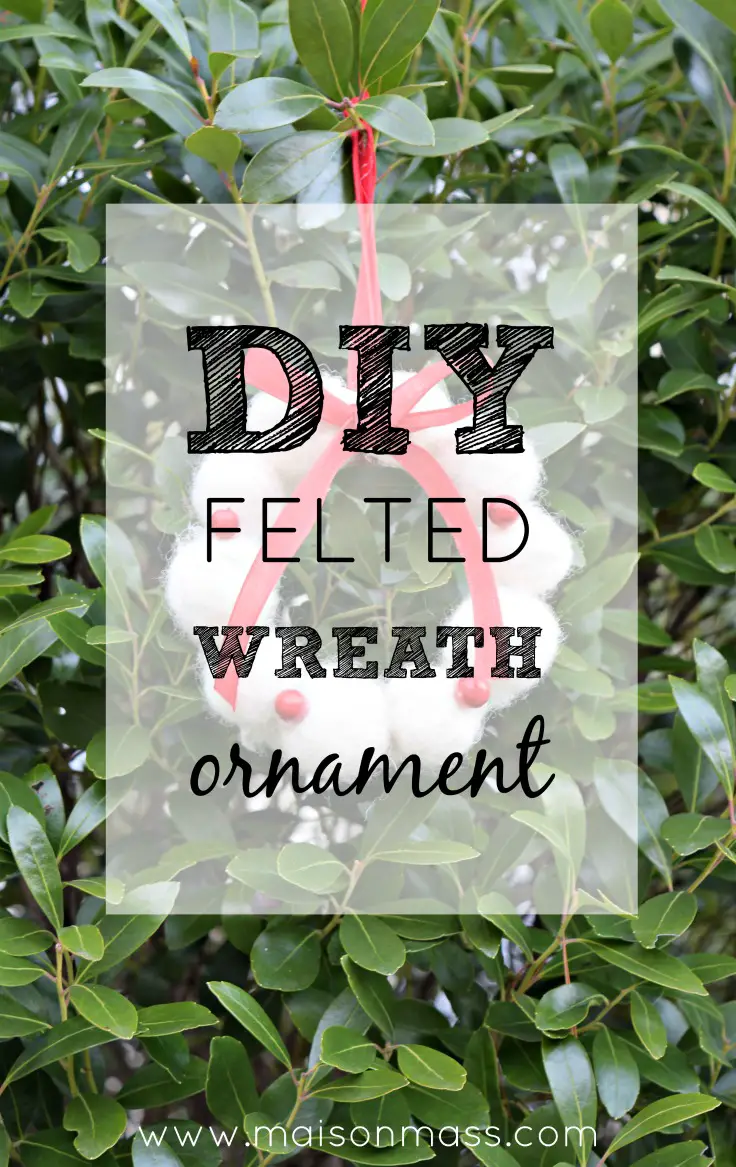
This holiday season, I am joining a group of talented bloggers to share some great Christmas DIYs with you. I think I mentioned in an earlier post that I’ve been loving the simplicity of the felted wool ball holiday decor. Well, I’ve been trying my hand at making my own felted wool balls, and in the process came up with this cute DIY felted wreath ornament that’s quick and easy to make! And could be a fun project to do with kids. It’s the 2017 ornament at our house and will look great on the tree. Here’s how I did it…
This post contains affiliate links for your convenience. When you purchase a product through one of the links, we get a small commission at no extra cost to you. For more information, please see our disclosures page.
In keeping with my less is more, neutral Christmas theme this year, I choose a winter white felted wool to work with and purchased it here.
To make the felted wool balls, you need a few things: a towel, a squirt bottle of warm soapy water (dish soap), a bowl with warm water, and some very hot water.
- You take a piece of wool – I cut off a piece about 8 or 9 inches long – and spread it apart gently so you can see through it.

- Then you squirt some of the soapy water on it and get the wool pretty wet. Once it’s wet, ball up the wool in your hand and begin rolling it in your palm, very gently.

- After a bit, you can add some of the hot water – being careful not to burn yourself! Keep rolling it loosely in your hand

- Once you’ve formed a decent ball, you can rinse some of the soap off the ball in the bowl of water, squeezing out the excess water gently as you remove the ball.
- Keep rolling and now you can apply more pressure. If you find as you’re pressing harder that you have more soap on the ball, go ahead and repeat step four.

- Keep rolling until the ball is round and very firm and then set it aside to dry overnight – and start on the next one : )
Once the felted wool balls were made and drying, I made a makeshift form for my wreath by twisting four pipe cleaners together and shaping it into a circle.
Then I covered it in some of the wool felt, using a glue gun to attach it.
After that, I added my felt balls. I had made them in slightly varying sizes to add some interest and so I distributed the different sizes around the wreath.
I cut a length of red ribbon to make a hanger and glued it to the wreath before adding the final balls.
I added a coordinating red bow with the same ribbon; again, attaching with the hot glue gun.
Finally, I added a bit of decoration by pulling a few red berries off of a bunch that I bought at the Dollar Store.
Wanting a bit more bling, I went back and added some silver berries from another bunch I had in my stash.
The great thing about the winter white wreath is you can decorate it anyway you want. I hope you like it and be sure to check out some of my blogger friend’s other DIY crafts below!
Kristen
Subscribe and get access to our library of free printables and resources updated each week (like this great Christmas printable!)


