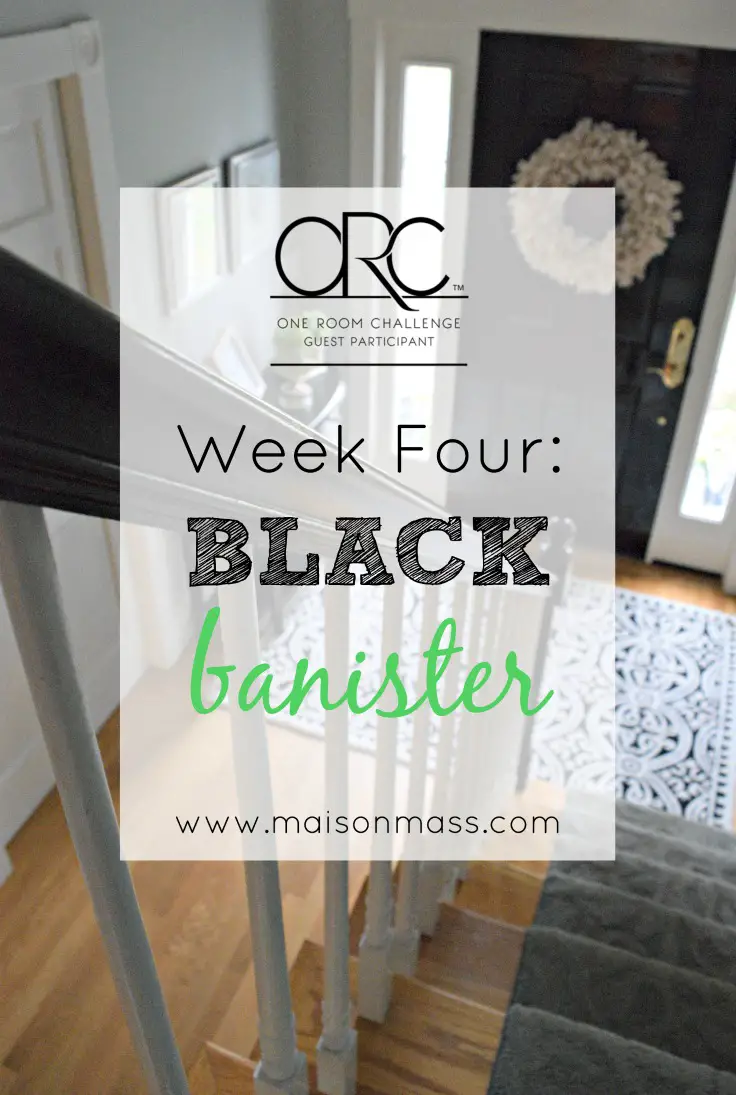
Do you ever make a decision and then secretly agonize over it? It happened to me with this week’s task for the One Room Challenge. As you know, I decided to paint my handrail in my foyer to transform it from an orange-y oak to a black banister. I have been seeing it on all the design shows, in shelter porn and online – and loving it. But ever since making the decision (and declaring it here on the blog) I have been fretting that (a) the paint won’t stay on or (b) it will look terrible. Mostly I’ve worried about (b). Who can relate?
And for the record, this isn’t unfounded, free-floating anxiety. This is worry rooted in past experience. I’ve had my share of DIY fails. Like the curtains I made for our living room when we first bought our house. I cut the fabric too short but wasn’t about to discard all those yards of purchased material, so I hung them using clips which gave me enough breathing room to have them just barely graze the floor (not a good look). Plus every time the kids played hide and seek or chased each other around the house, my curtains ended up in a heap on the floor because they could pull them right off. Every. Single. Time.
Back to the here and now. I was facing down the barrel of my public declaration and I had to pull the proverbial trigger. I had a six week time table to stick to and so I put my game face on and I went for it. And this time instead of an epic fail, the DIY gods smiled down on me and I actually like the way it looks more than I thought I would. And even my mother, who thought it was a bad idea from the start, conceded it looks great. I call that a big win.
Here’s a before shot where you can see the oak newel and banister:
The first thing I did was prep the banister and newel posts for paint. I cleaned them and gave them a light sand with fine grit sandpaper. Then I put painter’s tape on the balusters where they joined with the handrail and tape where the newel posts met the stair treads or floor.
I then painted them using Clark & Kensington’s Hi-Gloss Enamel in black. It’s paint and primer in one and is 100% acrylic latex enamel. I could have gone ahead and used the leftover paint from the front door, but I wanted to try a latex hi gloss enamel to see how it differed from the oil. In short, the latex enamel went on very similarly to the oil paint I used on the door. The first coat did not cover the wood but the second coat made all the difference – the same thing that happened with the door. The pluses to the enamel paint are that it dried very quickly between coats (I ended up doing three) and it didn’t have the strong odor of the other paint. And I still got my rich gloss that I was looking for. Definitely would use this product again.
Remember last week when I told you I had finally found an affordable cushion for the mudroom hack? Well, it arrived and promptly got put into service. I am still marveling at my good luck in finding the odd size that fit my IKEA TV console cum bench. I was resigned to the fact that I was going to have to have one made. But after much searching, I found that Hayneedle had them in several colors and I am pleased with the overall quality of the cushion. The bottom of it is actually a rubber material like a rug pad that keeps the cushion from slipping around on the bench. Genius!
So what’s left? I still need to make a decision on the light fixture. Here comes that anxiety again… 🙂 And style the console table and wall above it. Be sure to check back next week for that mini makeover. I’m in the home stretch!
You can check out all of the weeks of the project here:
ORC Week 1
ORC Week 2
ORC Week 3
ORC Week 4
ORC Week 5
ORC Week 6
ORC Week 7
And as always, be sure to hop over to the Calling It Home blog to see what the featured designers and some of the other guest participants are doing this week on the One Room Challenge Page!
Kristen


